A true chef-grade kitchen is defined by workflow efficiency and the elimination of spatial friction, not by its square footage.
- Analyze your space using the “Five-Zone Principle” to design a layout that follows the natural sequence of cooking, drastically reducing wasted movement.
- Invest strategically in foundational elements like intelligent cabinetry and durable surfaces before allocating budget to high-end appliances for the best long-term ROI.
Recommendation: Focus on designing for ergonomic flow to make cooking joyful and efficient, proving that functional density is more valuable than sheer size.
For urban apartment owners who love to cook, the kitchen is often a source of deep frustration. You have the culinary ambition, but the space itself works against you. It’s a daily battle with cramped counters, inaccessible cabinets, and a layout that seems designed to create chaos rather than culinary masterpieces. The common advice—paint it white, buy smaller appliances—feels like a superficial fix for a fundamental design problem. These tips might make a small kitchen feel marginally bigger, but they do nothing to make it work better.
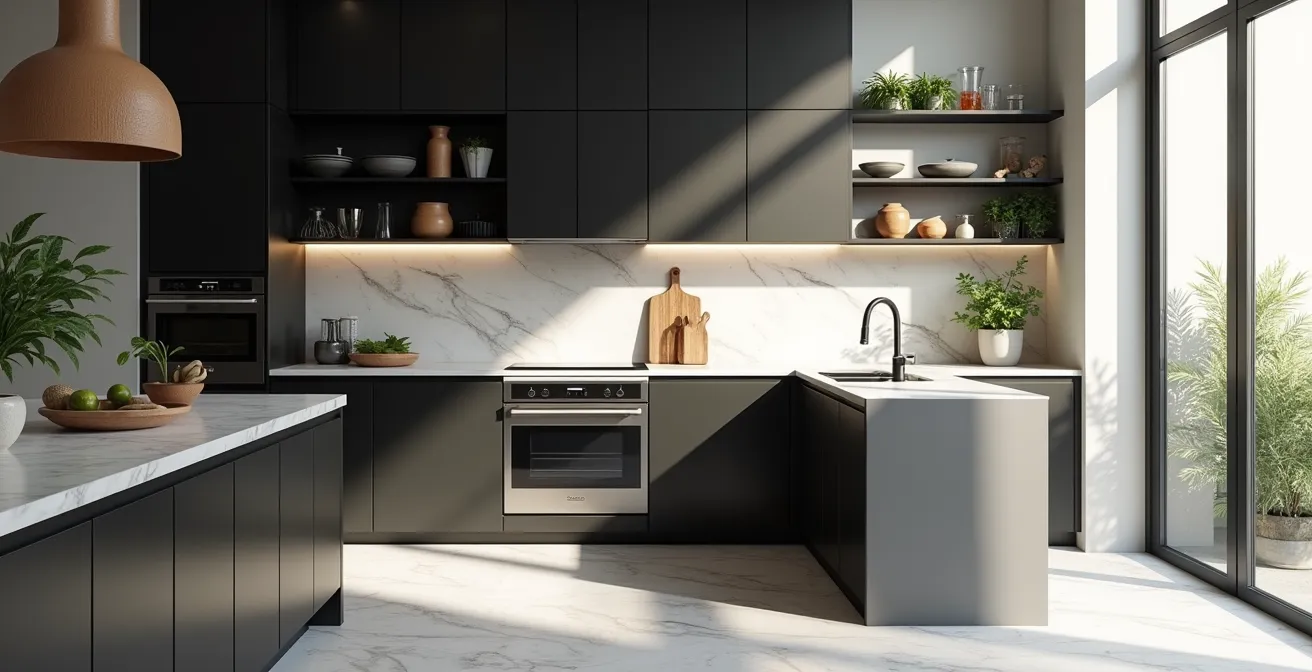
What if the solution isn’t about saving space, but about optimizing workflow? What if the real secret to a high-performance kitchen lies in eliminating what designers call spatial friction—the invisible effort you expend fighting your environment? A true chef-grade kitchen, regardless of its size, is an exercise in ergonomic excellence. It’s a space where every tool is within reach, every surface is purposeful, and every step is logical. It’s about creating a sensory experience where cooking feels fluid and intuitive, not like a constant puzzle.
This guide will move beyond generic tips to deconstruct the principles of professional kitchen design. We will explore how to think like a designer, focusing on a system known as the Five-Zone Principle to organize your space for maximum efficiency. By analyzing everything from budget allocation and material durability to the science of lighting and clever storage retrofits, you’ll learn how to transform your small kitchen into a powerhouse of functionality, creating a space that inspires creativity and brings joy back to cooking.
To guide you through this transformation, this article breaks down the essential elements of a high-performance kitchen renovation. The following sections will provide a clear roadmap, from initial planning to the final details that make a space truly exceptional.
Summary: Your Path to a High-Performance Kitchen
- Deconstructing Inefficiency: Why Even Large Kitchens Feel Cluttered
- Strategic Investment: Allocating Your Kitchen Remodel Budget
- The Durability Test: Quartz vs. Granite for Real-World Cooking
- The Critical Lighting Error That Creates Dangerous Workstation Shadows
- Beyond Demolition: Adding 30% More Storage to Existing Cabinets
- The Ultimate Workflow Test: Enabling Rapid Meal Prep in a Small Kitchen
- Lessons in Light: Applying Bathroom Design Principles to Brighten Your Kitchen
- The Smart Renovation: Modernizing Your Kitchen Without Moving Plumbing
Deconstructing Inefficiency: Why Even Large Kitchens Feel Cluttered
The most common design flaw, even in spacious kitchens, is a layout that ignores the natural sequence of cooking. Many people are familiar with the “kitchen work triangle”—the connection between the stove, sink, and refrigerator. However, this 1940s concept is outdated for modern cooking. It fails to account for the distinct stages of meal preparation, leading to constant backtracking, crowded countertops, and a feeling of chaos. This is the root of spatial friction, where the layout forces you into inefficient patterns.
A far more effective approach is the Five-Zone Principle, a system that organizes the kitchen into logical areas based on activity. By grouping related items and tasks, you create an ergonomic assembly line that minimizes movement and maximizes efficiency. This is the foundation of a true chef’s kitchen, where the space supports your every move. The goal is to create a seamless flow from one task to the next, making the entire cooking process smoother and more intuitive.
Implementing this principle involves dedicating specific areas to five key functions:
- The Consumables Zone: This is for food storage. Your refrigerator and pantry should be located close together, ideally near the kitchen’s entrance. This allows you to bring in groceries and deposit them in one go, and to gather all your ingredients at the start of cooking without crossing the entire room.
- The Non-Consumables Zone: This area holds your everyday dishes, glasses, and silverware. Placing these drawers and cabinets near the dishwasher makes unloading a fast, simple task.
- The Cleaning Zone: Centered around the sink and dishwasher, this zone should also include your trash and compost bins, ideally integrated into a pull-out cabinet for easy access during food prep.
- The Preparation Zone: This is the most crucial workspace, requiring a generous, uninterrupted stretch of countertop between the sink and the cooktop. Essential tools like knives and cutting boards should be stored here.
- The Cooking Zone: This area includes your cooktop and oven. Pots, pans, and cooking utensils should be stored in the cabinets and drawers immediately surrounding it, ensuring you can grab what you need without moving from the stove.
By organizing your kitchen around this workflow, you eliminate wasted steps and create a space that feels calm and controlled, even during the most complex meal preparations. It’s a shift from thinking about isolated appliances to designing a holistic, functional system.
Strategic Investment: Allocating Your Kitchen Remodel Budget
A successful kitchen remodel hinges on a smart budget strategy. While it’s tempting to splurge on a statement appliance, a designer’s approach prioritizes the foundational elements that deliver long-term value and daily functionality. With the median spend for a kitchen remodel hovering around $60,000 in 2024, every dollar must be purposefully allocated. The key is to think of your investment as a pyramid: build a strong base before focusing on the peak.
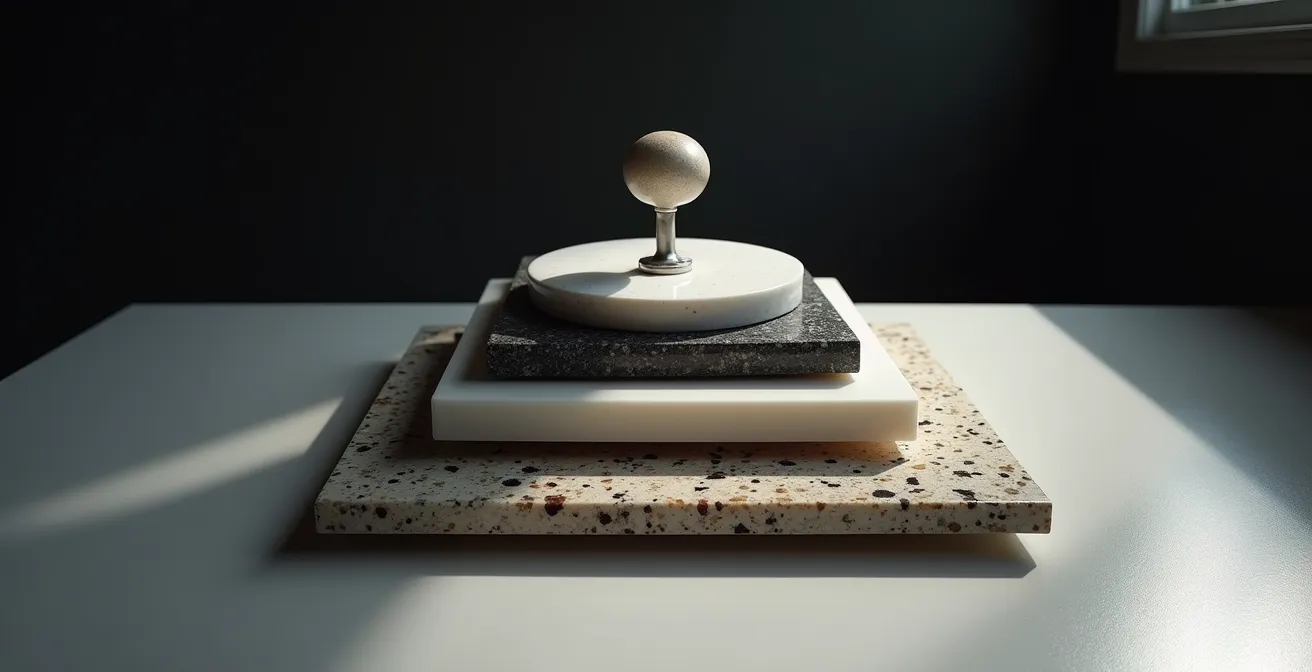
This pyramid structure visualizes where your money has the most impact. The base consists of the hardworking, unseen elements that define the kitchen’s quality and longevity. The peak represents the more visible, often functional, items that can be upgraded over time. Your primary investment should be in the kitchen’s “bones”—the cabinetry and surfaces you interact with every single day. These components have the greatest influence on the space’s durability and usability.
The following breakdown, based on industry standards, provides a clear guide for allocating your funds to maximize both function and return on investment. Prioritizing this way ensures you don’t overspend on a high-tech oven while skimping on the drawer slides you’ll use twenty times a day.
| Component | Budget Percentage | ROI Impact | Priority Level |
|---|---|---|---|
| Cabinetry & Storage | 29-35% | High | 1st – Foundation |
| Countertops | 20-25% | Medium-High | 2nd – Durability |
| Appliances | 15-20% | Medium | 3rd – Function |
| Flooring | 7-10% | High (70-90%) | 2nd – Durability |
| Labor | 25-35% | Essential | Throughout |
By adhering to this hierarchy, you ensure that your budget is working for you, creating a kitchen that not only looks beautiful but is built to last and function flawlessly. This strategic approach is the difference between a simple cosmetic update and a true, value-adding renovation.
The Durability Test: Quartz vs. Granite for Real-World Cooking
Your countertop is the primary stage for your culinary work, and its material properties directly impact your cooking experience and peace of mind. For serious home chefs, the choice often comes down to two dominant players: granite and quartz. While both offer a high-end aesthetic, their performance under the pressures of a busy kitchen—hot pans, spills, and sharp knives—differs significantly. The decision isn’t just about looks; it’s about choosing a surface that matches your cooking style.
Granite, a natural stone, is renowned for its exceptional heat resistance. You can place a hot pot directly on its surface without fear, as it can withstand temperatures up to 1200°F. However, its natural porosity means it’s vulnerable to stains from liquids like red wine or oil if not sealed properly and regularly. Quartz, an engineered stone made from crushed quartz and resin, offers the opposite profile. It is virtually non-porous, making it exceptionally resistant to stains without any need for sealing. Its weakness is heat; the resins can be damaged by temperatures above 300°F, meaning a trivet is always necessary.
For a chef-grade kitchen, other materials also enter the conversation, each with a unique set of pros and cons. Stainless steel is the professional standard for its heat-proof and hygienic properties, but it scratches easily. Butcher block is warm and knife-friendly but requires significant maintenance. The table below offers a professional comparison to help you choose the surface that best endures the realities of your kitchen.
| Material | Heat Resistance | Stain Resistance | Maintenance | Chef Rating |
|---|---|---|---|---|
| Granite | Excellent (1200°F) | Good (needs sealing) | Annual sealing required | 9/10 |
| Quartz | Moderate (300°F limit) | Excellent (non-porous) | No sealing needed | 7/10 |
| Stainless Steel | Excellent (heat-proof) | Good | Regular polishing | 10/10 |
| Butcher Block | Poor (burns easily) | Poor (requires oiling) | Monthly oiling | 6/10 |
| Soapstone | Excellent | Excellent (non-porous) | Periodic oiling | 8/10 |
Ultimately, the best choice depends on your priorities. If you value carefree cooking and want to move pans directly from the stove to the counter, granite or soapstone are superior. If your main concern is preventing stains and minimizing maintenance, quartz is the clear winner. Understanding this trade-off is key to selecting a surface that won’t just look good, but will work hard for you.
The Critical Lighting Error That Creates Dangerous Workstation Shadows
The single most common and dangerous lighting mistake in kitchen design is relying on a single, central ceiling fixture. While it may illuminate the room as a whole, it positions you between the light source and your work surface. As you stand at the counter to chop vegetables, your own body casts a deep shadow directly over your hands and the knife. This not only makes tasks more difficult but also significantly increases the risk of accidents. A chef-grade kitchen requires a more sophisticated, layered approach to lighting known as task lighting.
Task lighting is about delivering focused, shadow-free light exactly where you need it most: on your prep areas, cooktop, and sink. This is achieved by combining multiple light sources from different heights and angles. This layered strategy eliminates shadows, reduces eye strain, and provides the visual clarity needed for precise culinary work. It transforms the kitchen from a generally lit room into a series of highly functional, safely illuminated workstations.
Beyond just placement, the quality of the light itself is paramount. This is measured by the Color Rendering Index (CRI), a scale from 0 to 100 that indicates how accurately a light source reveals the true colors of objects. For a kitchen, a high CRI is non-negotiable. As highlighted in professional guidelines, the right lighting is crucial for food safety and quality.
A light with a CRI below 90 can make you misjudge the doneness of meat or freshness of produce, undermining the ‘chef-grade’ goal.
– Professional Kitchen Design Standards, Kitchen & Bath Design Principles
Implementing a proper task lighting system involves a few key steps. The following checklist outlines how to create a layered, high-quality lighting scheme that ensures both safety and precision in your cooking space.
Action Plan: Implementing a 3-Point Task Lighting System
- Primary Overhead Light: Install a main pendant or fixture to hang 30-36 inches above your primary prep surface (like an island) for strong, general task illumination.
- Under-Cabinet Strips: Position angled LED strips at the front of your upper cabinets, pointing back toward the backsplash. This 45-degree angle is crucial for washing the counter in light and eliminating shadows cast by your body.
- Cross-Illumination: If possible, add side-mounted adjustable spotlights from adjacent walls or ceiling points. This cross-lighting technique fills in any remaining shadows, creating a perfectly even field of light.
- Light Quality Audit: When selecting bulbs, check the packaging for a CRI of 90 or higher. This ensures you can accurately assess food color, from the freshness of herbs to the sear on a steak.
- Control & Adaptability: Install dimmer switches for all layers. This allows you to switch between a bright, cool light (around 4000K) for focused task work and a warmer, more ambient light (around 3000K) for dining or relaxing.
Beyond Demolition: Adding 30% More Storage to Existing Cabinets
In a small kitchen, the feeling of running out of space is constant. But the problem often isn’t a lack of cabinets; it’s the inefficiency of the space within them. Standard cabinets with fixed shelves are notoriously impractical. Items get lost in the dark recesses, and more than half the vertical space is often wasted. Before considering a costly and disruptive demolition, the most effective strategy is to retrofit your existing cabinets with modern solutions that maximize functional density and accessibility.
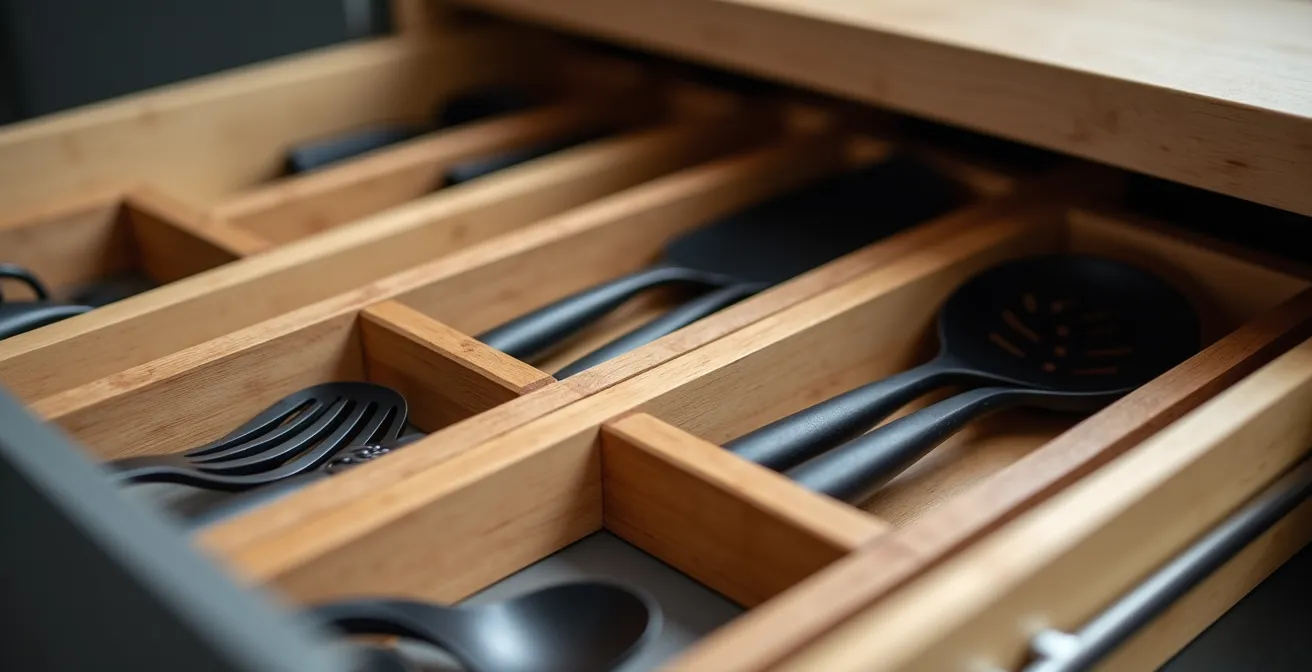
The single most impactful upgrade is replacing fixed lower shelves with full-extension drawer slides. This simple change can be transformative. Instead of kneeling on the floor to dig into a dark cabinet, the entire contents slide out into the light, making every item visible and reachable. According to industry data, this retrofit alone increases the usable capacity of a cabinet. Indeed, cabinet manufacturers report that full-extension drawers provide 30% more usable space than standard deep shelves, because they eliminate the inaccessible “dead zone” at the back.
This principle of making space accessible can be applied throughout the kitchen. Vertical dividers turn a messy pile of baking sheets and cutting boards into a neat, filable library. Organizers for “dead corners” bring the entire contents of a corner cabinet out into the room. Even the forgotten inch of space in your toe-kicks can be converted into shallow drawers for platters or linens. These are not just storage solutions; they are ergonomic upgrades that reduce friction and frustration in your daily routine.
Here are some of the most effective retrofit solutions for reclaiming wasted space:
- Full-Extension Drawer Slides: The top priority for all lower cabinets to make contents fully accessible.
- Vertical Dividers: Perfect for organizing flat items like baking sheets, cutting boards, and platters in deep cabinets.
- Door-Mounted Racks: Utilize the unused inner surface of cabinet doors for spices, measuring cups, and other small items.
- Pull-Out Corner Organizers: Solutions like “Lazy Susans” or “Magic Corners” make the awkward corner cabinet fully usable.
- Toe-Kick Drawers: Tap into the hidden space under your base cabinets for storing flat or rarely used items.
- Drawer Dividers: Custom organizers within your drawers prevent utensil pile-ups and keep everything in its place.
By focusing on retrofitting rather than replacing, you can achieve a dramatic increase in storage and functionality for a fraction of the cost and disruption of a full renovation.
The Ultimate Workflow Test: Enabling Rapid Meal Prep in a Small Kitchen
The true measure of a chef-grade kitchen isn’t its size or the brand of its appliances, but its performance under pressure. There is no better stress test for a kitchen’s layout than an intensive meal prep session. The goal of prepping five days of lunches in under 90 minutes is an exercise in pure efficiency. If your layout creates friction—forcing you to crisscross the room for ingredients, tools, or the trash bin—you will fail. A space designed with the Five-Zone Principle, however, transforms this chore into a smooth, assembly-line process.
This concept is powerfully demonstrated in professional settings and highly optimized small homes. It’s about creating a logical flow that mirrors the stages of food production: from storage to cleaning, to preparation, to cooking, and finally to packing.
Case Study: The Five-Zone Meal Prep Workflow
In his 50-square-meter Tokyo home, professional chef David Sun engineered his compact kitchen around the Five-Zone Principle specifically to streamline his workflow. By creating a direct physical path—from the refrigerator (Consumables Zone) to the sink (Cleaning Zone), then to an adjacent counter (Prep Zone), and finally to the stove (Cooking Zone)—he designed an ergonomic assembly line. This layout reduced his overall meal prep time by an astonishing 40%. A key innovation was integrating a trash and compost solution directly within the prep zone, which alone eliminated 15 minutes of cleanup time per session. This proves that a logical layout, not a large footprint, is the secret to high-speed kitchen performance.
You can replicate this professional efficiency in your own kitchen by setting up your space like an assembly line before you begin. The following steps organize the meal prep process according to the Five-Zone workflow, turning a potentially chaotic task into a structured, manageable system.
- Station 1 (Fridge/Pantry Zone): Begin by pre-staging all ingredients on a counter. Arrange them in the order you will use them to avoid return trips.
- Station 2 (Sink Zone): Wash and drain all produce at once. Grouping this task saves water and time.
- Station 3 (Prep Zone): Perform all chopping, dicing, and portioning of proteins in one continuous session at your main workstation.
- Station 4 (Cooking Zone): Cook items in parallel. While grains are simmering, sauté vegetables or sear proteins to maximize your time at the stove.
- Station 5 (Counter/Packing Zone): Set up a dedicated area for your containers. Let cooked food cool, then portion and label each meal.
- Final Step (Storage): Arrange the completed meals in the refrigerator using a “First-In, First-Out” (FIFO) system, placing the newest containers at the back.
Key Takeaways
- Focus on workflow: The Five-Zone layout is more critical to kitchen efficiency than its square footage.
- Invest strategically: Prioritize hardworking cabinetry and durable countertops over expensive appliances for the best long-term value and daily use.
- Light for the task: Layered lighting with a high CRI is a non-negotiable safety feature for precision cooking.
Lessons in Light: Applying Bathroom Design Principles to Brighten Your Kitchen
To master the art of creating a bright, airy feel in a confined kitchen, especially one lacking natural light, we can borrow powerful techniques from an unlikely source: the windowless bathroom. Bathroom designers are experts in “faking” light and creating an illusion of space where none exists. These principles of reflection and sensory manipulation are directly transferable to the kitchen, helping to counteract the oppressive feeling of a small, dark room.
The core principle is to maximize the reflection of any available light, whether it comes from a small window or your electrical fixtures. Shiny, smooth surfaces bounce light around the room, making the entire space feel brighter and more expansive. In a bathroom, this is achieved with glossy tiles and large mirrors. In the kitchen, the equivalent is a glossy backsplash (like glass or ceramic tile) and high-gloss cabinet finishes. These surfaces act like discreet mirrors, amplifying your lighting scheme and adding depth to the space.
Color choice also plays a crucial psychological role in our perception of space. As design psychology experts note, dark, saturated colors in a confined area can feel heavy and enclosing. The right colors can make a space feel larger and more open.
In a room without natural light, highly saturated colors can feel oppressive, while muted, lighter tones feel more expansive.
– Interior Design Psychology Institute, Color Theory in Confined Spaces
By combining reflective surfaces with a strategic color palette and layered lighting, you can dramatically alter the atmosphere of a small kitchen. These techniques, honed in the most challenging of spaces, are your best tools for creating a bright and welcoming culinary environment.
- Use Reflective Backsplashes: Install glossy ceramic, glass, or metallic backsplashes to bounce light throughout the workspace.
- Choose High-Gloss Finishes: Select high-gloss or semi-gloss finishes for your cabinets over matte options to help reflect light.
- Layer Your Lighting: Combine under-cabinet LED strips, pendants over key areas, and recessed ceiling fixtures to create an even, multi-point illumination that eliminates dark corners.
- Embrace a Light Palette: Use light, muted colors like soft whites, pale grays, or subtle pastels for walls and cabinets to make the space feel larger.
- Add Metallic Accents: Employ polished chrome, brushed brass, or nickel hardware for your cabinets and faucet. These small details act as extra points of light reflection.
The Smart Renovation: Modernizing Your Kitchen Without Moving Plumbing
One of the biggest misconceptions in remodeling is that achieving a significant functional upgrade requires expensive, disruptive changes like moving walls or relocating plumbing. However, just as a master bathroom can be completely modernized while leaving the pipes in place, your kitchen’s functionality can be revolutionized by focusing on smarter, high-performance components that work within your existing layout. This approach minimizes cost and complexity while maximizing utility.
The sink area, often dictated by existing plumbing, is a prime candidate for such an upgrade. Traditionally seen as just a basin for washing, the modern sink can be transformed into the kitchen’s most versatile workstation. This evolution in design offers a massive boost in functionality without touching a single pipe in the wall, making it a perfect strategy for urban apartments where major plumbing work is often impractical or prohibited.
Case Study: The Workstation Sink Revolution
A renovation in a Philadelphia row home perfectly illustrates this principle. Faced with a cramped layout and a budget that couldn’t support relocating plumbing (a quote of $4,500), the homeowners opted for a modern workstation sink. This deep, single-basin sink features integrated ledges that support sliding accessories like cutting boards, colanders, and drying racks. By installing this $1,200 unit over the existing plumbing, they effectively gained 8 square feet of functional prep space. The sink area was transformed from a simple cleanup zone into a multi-functional hub for prepping, washing, and drying, demonstrating a massive return on investment in pure functionality.
This philosophy of “upgrading in place” extends beyond the sink. It’s about choosing components that add layers of function to a single location. A cooktop with an integrated downdraft vent can eliminate the need for a bulky overhead hood, opening up sightlines in a small kitchen. A cabinet can house a pull-out pantry, concentrating storage in one accessible spot. The goal is to increase the functional density of each area rather than expanding the kitchen’s physical footprint. This smart-renovation mindset delivers a chef-grade experience by making every square inch work harder for you.
Your journey to a chef-grade kitchen begins not with a sledgehammer, but with a plan. Start today by auditing your current space against the Five-Zone principle to identify your primary points of spatial friction and unlock your kitchen’s true potential.